Google Cloud Composer setup
CI/CD setup
This setup will allow you to deploy the main branch of your Airflow project from GitHub to Cloud Composer.
-
Create a GitHub repository, for example, by following our how-to guide on deployment for Airflow.
-
In the Google Cloud web interface, go to Source Repositories and create a repository that mirrors your GitHub repository. This will simplify authentication by using this mirroring service.
-
In Cloud Build, add a trigger on commit to the main branch.
-
Point it to your Cloud Build file. In our example, we place our file at
build/cloudbuild.yaml.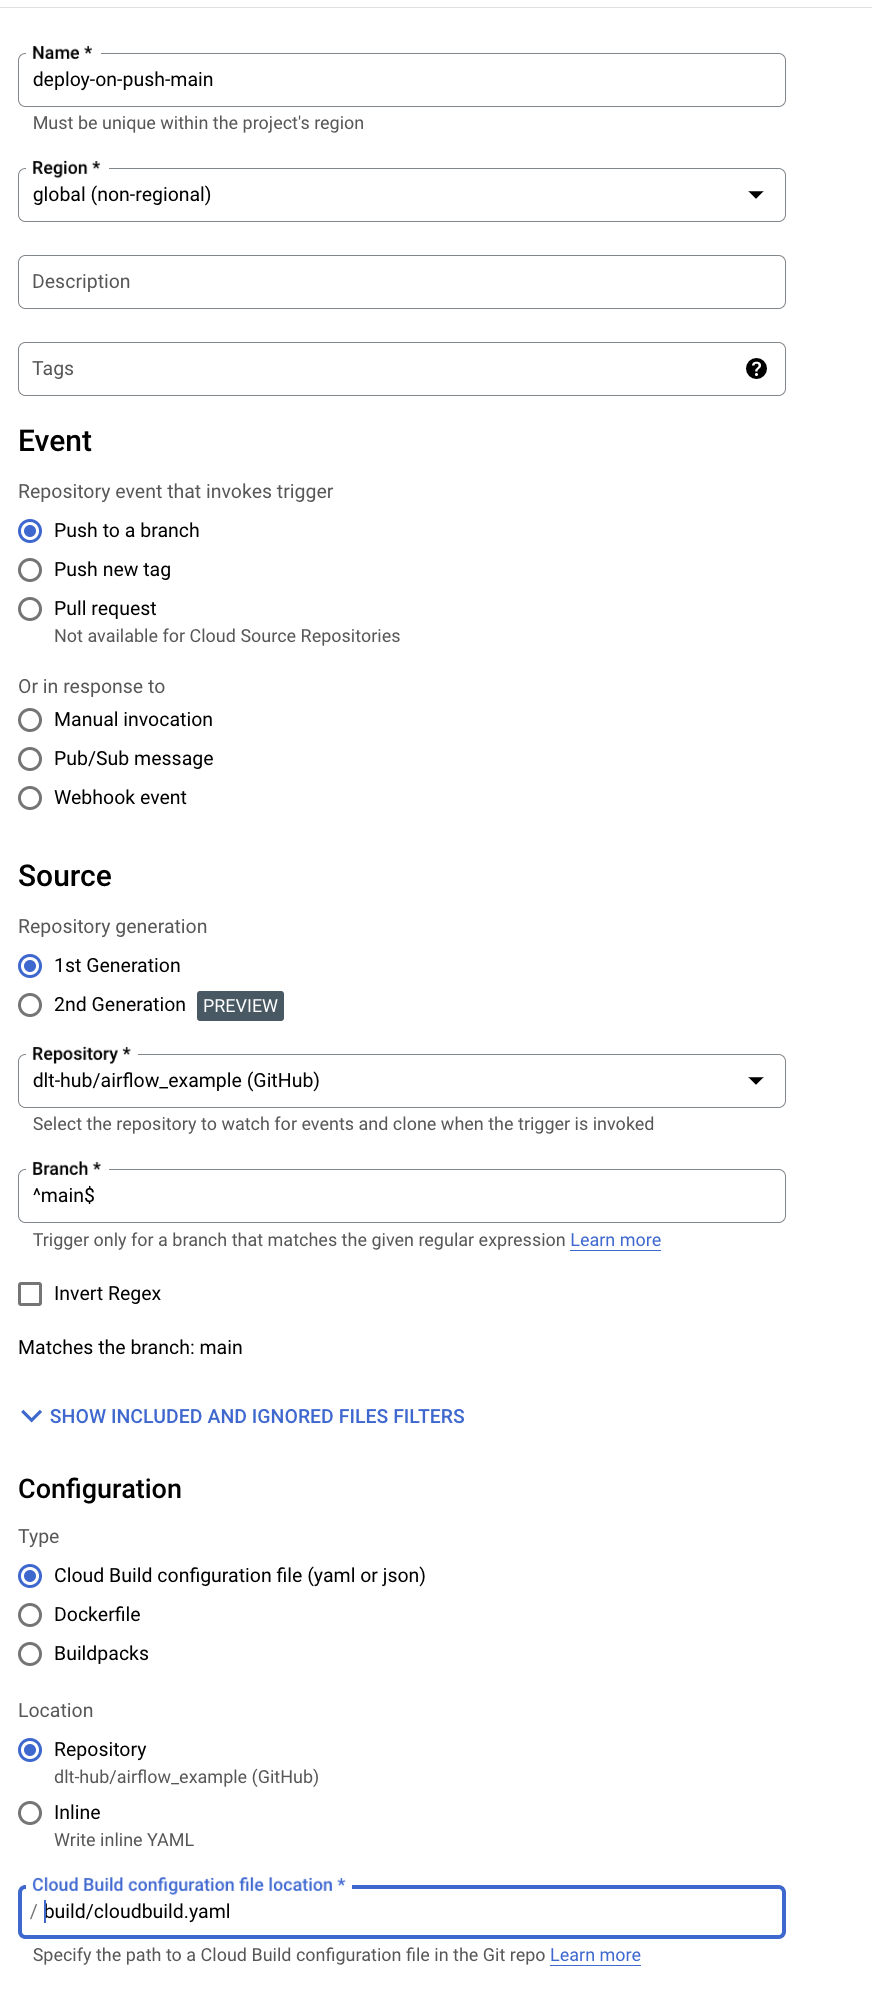
-
Go to Cloud Composer, click on the dags folder, and get the bucket name.

-
In your
cloudbuild.yaml, set the bucket name. -
Make sure your repository code is pushed to the main branch.
-
Run the trigger you built (in Cloud Build).
-
Wait a minute, and check if your files have arrived in the bucket. In our case, we added a
pipedrivefolder, and we can see it appeared.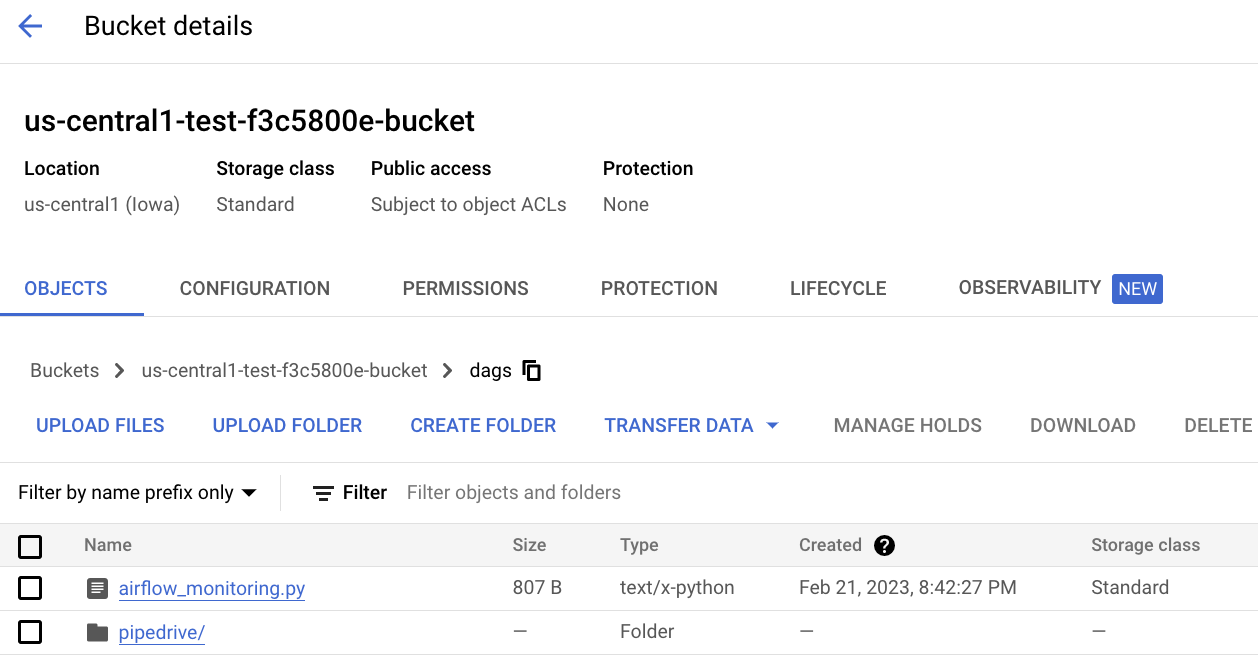
Airflow setup
Adding the libraries needed
Assuming you have already spun up a Cloud Composer:
-
Make sure the user you added has rights to change the base image (add libraries). I already had these added; you may get away with fewer (not clear in docs):
- Artifact Registry Administrator;
- Artifact Registry Repository Administrator;
- Remote Build Execution Artifact Admin;
-
Navigate to your composer environment and add the needed libraries. In the case of this example pipedrive pipeline, we only need the sdf library, so add the
dltlibrary.